Jura coffee machines are super easy to operate simply because they’re all super automatic. To take full advantage of a Jura espresso machine, you need to set it up correctly. A properly set up Jura machine also shortens your learning curve.
In fact, Jura coffee machines are designed to cut down the learning curve with so many no-nonsense features exclusively built by the Jura engineers—which also, in effect, makes them so much better than their competitors.
Since Jura develops their own technologies, using various Jura models has become an easier prospect, believe it or not.
That’s why we could conjure up the answer to this very important question: “How to use Jura coffee machines”.
How To Set Up A Jura Machine
Setting up a Jura machine before doing anything is a straightforward task.
- Simply take it out of the package and get rid of all the labels, tapes, etc.
- Pick a spot for your Jura that will protect the machine from harsh weather and overheating.
- Don’t forget to uncover the ventilation slots as well.
- And finally, place the machine on a horizontal surface that’s safely away from water sources (taps, sinks, etc.).
How To Determine Water Hardness
Jura machines are very sensitive and can get damaged pretty badly if a user doesn’t set the water hardness level properly.
So, this step is crucial before you start to use your Jura machine properly. We’ve included this section right after the initial set-up section because you shouldn’t proceed to anything else before configuring the water hardness level.
- Use the Aquadur test strips supplied with your Jura machine for this case.
- Hold a test strip under flowing water for a second, and then shake off the water.
- The test strip will become discolored after 1 minute.
- You will then be able to find the hardness level of your water by reading the degree of discoloration of the Aquadur test strip from the provided guide with the espresso machine.
- Remember this value so that when you’re configuring your Jura for the 1st time, you’ll be able to input it.
Smart User Panel
Jura machines are automatic by nature. That’s why all Jura machines come with a smart interactive display as the main user panel.
You can operate the machine comfortably and completely using this screen. Jura primarily employs 3 methods of machine interaction: touch, buttons, and a rotary switch. Sometimes it’s a combination of all or some of them.
The intelligent and interactive user panel ensures easy access and customization of a wide range of features and settings.
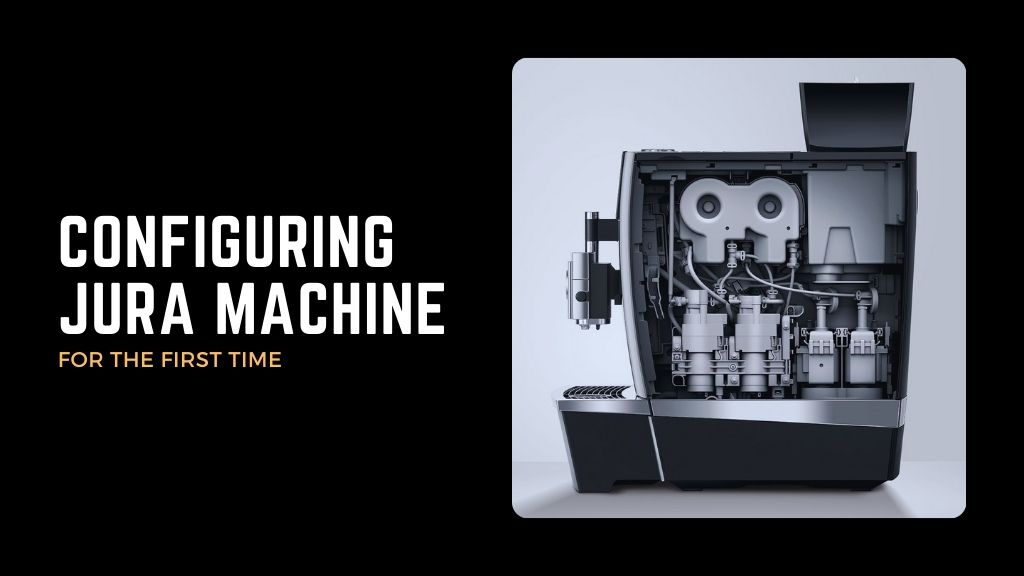
Configuring Jura For The First Time
Before starting your Jura’s configuration for the 1st time, make sure the bean container has been filled with fresh coffee beans. Connect the main’s cable to the machine safely and accurately. Now you can begin.
- Press the On/Off button to switch on your Jura espresso machine
- The machine will ask you to set your preferred language. So, you can swipe on the screen, use buttons, or even use the rotary switch to navigate through language options. Save the selection and go to the next step
- Now the machine will ask you to set the water hardness level. We’ve already explained how to test your water hardness level (which doesn’t involve the machine itself). So take that reading, set the value accordingly, save, and proceed to the next step
- Now it’ll instruct you to insert the water filter. So, remove its water tank and rinse it with cold water
- Open the filter casing, insert the CLARIS/CLEARYL smart filter cartridge, close the casing, and insert the filter casing into the water tank
- Turn the filter casing clockwise. You’ll hear clicks if it gets fitted into place accurately
- Now fill the tank with fresh water and reinsert it into the machine
- Note: Using Jura’s smart water filters (CLARIS/CLEARYL) will eliminate the need for descaling as long as you keep changing the filter at a 2–3 month interval
- Place an empty bowl under the spouts (hot water and dual) as well at this point
- The machine will automatically detect the filter cartridge, save the setting, and start an automatic rinse (to clean the internals)
- Both the drip tray and your bowl under the spouts will catch the rinsed water
- You’ll see an “empty drip tray” message, which indicates the end of rinsing. So, empty out the tray, throw out the water, and put it back into the machine
- At this point, the machine will ask you to connect to your Wi-Fi. So, do it and save the settings as such to proceed
- Again, your Jura will perform another rinsing cycle, so put the bowl under the spouts like before
- Once the rinsing is over, the machine is fully configured and ready to use
Jura’s Customizations In General
Jura machines come with a whole range of drink recipes and customizations. Let’s see how easily you can get your hands on them.
You can change the coffee strength of a drink during the bean grinding stage from the user’s touchscreen display. Similarly, you can make changes to your drink volume as well.

What about doing permanent customizations? Just go to the drinks on the screen, tap, and hold on for 2 seconds on your preferred drink’s icon. It’ll enable the configuration settings for that drink recipe. Now change the strength, volume, temperature, and grind consistency as you like. Save the settings so that your Jura will remember this and brew accordingly from now on.
You can also make your own customized drink list to appear on the touchscreen. Just tap on the drink’s icon for 2 seconds and place another drink under the “replace product” setting.
If no actions are done on the machine for 9 minutes, your Jura machine will switch to its standby mode. They also come with an auto-switch-off mode. You can go into the settings and select when to switch off the machine automatically. The time length goes from 30 minutes to 9 hours.
How To Make Cold Brew
Some Jura machines even have the ability to brew cold brew coffee. And it’s super-easy to prepare as well.
- Fill the water tank with cold water. In fact, the colder the better.
- Place a cup under the dual spouts and add some ice cubes to the cup.
- Select the cold brew specialty from the user interface and tap to start brewing.
- The preset amount of brewed coffee will flow into your cup!
How To Make Espresso, Coffee, And Ristretto
Jura is renowned for perfecting the art of making quality shots of espresso, ristretto, doppio, and coffee with their automatic espresso machines. But no matter your choice, making these black coffee shots is easier than ever with Jura.
- First, place a cup under the dual spouts (since it’s going to be a single-shot drink).
- Then you have to select either espresso, coffee, or ristretto from the home screen.
- The preparation will simply start once you tap the drink icon on the screen.
- The preset amount of brewed coffee/espresso will flow into the cup and the preparation will stop automatically as well.
- To make double shots of these drinks, you just have to navigate their 2x drink option from the given recipe. And you can use the rotary switch as well to browse in this case.
- Before selecting the drink, put 2 cups beneath the spouts. The rest of the procedure is identical to the single-shot brewing.
How To Make Milk Specialties
Jura machines can offer a whole host of delicious recipes for milk-based espresso drinks. Note that not all Jura machines are able to make these drinks. But of those who can, you can bet your bottom dollar that all of them are good at that.
Milky specialties such as Cortado, Latte, Macchiato, Flat White, Cappuccino, and Café au lait are among the few drinks that Jura espresso machines can produce.
Regardless of the Jura variants, Jura prepares these drinks by following these simple steps:
- First, place a glass, cup, or mug under the dual spouts.
- Connect the milk system with the dual spout accurately.
- Select and touch any of the milk-based recipes.
- The preset amounts of milk and milk froth will flow into the glass/cup/mug.
- The hot milk will take a bit of time to separate from the milk foam. It allows the typical foamy layers to build up for the drink.
- Now the preset amount of hot espresso will go into the glass/cup/mug.
- 8 minutes after each preparation, the milk system will be automatically rinsed, so don’t disconnect them.
- Note: Place a bowl under the dual spouts to catch all the residuals from the rinsing.
How To Use Pre-Ground Coffee In Jura
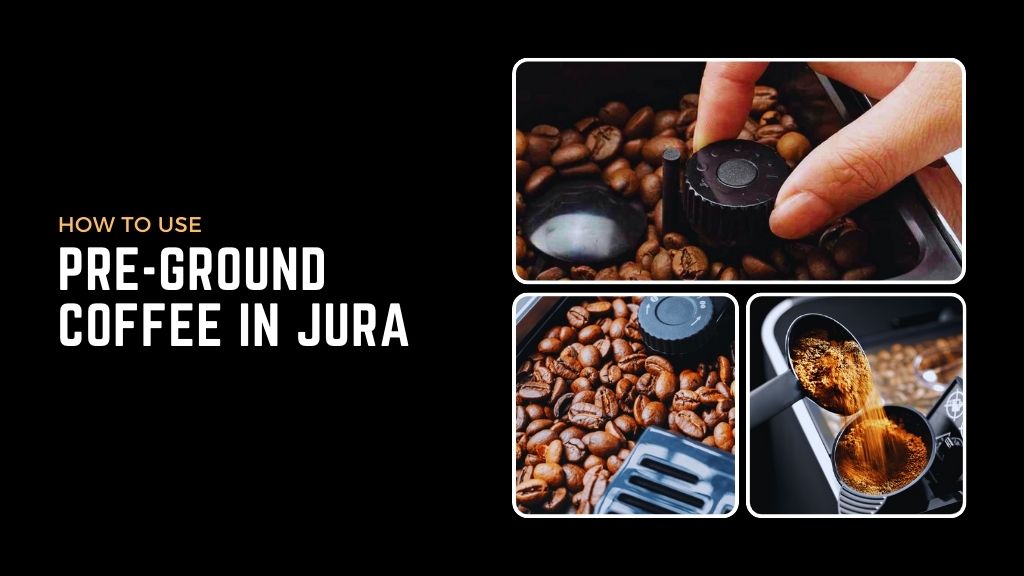
One of the underrated advantages of the Jura automatics is that all of these machines allow pre-ground coffee. It allows decaf drinkers and filtered coffee lovers a crucial vantage point. Furthermore, it’s so easy to work with pre-ground coffee with a Jura machine.
Be careful though; Jura only allows no more than 2-level measuring spoons of pre-ground coffee. Also, the pre-ground coffee can’t be too fine. Because it’ll clog the internal tubes very easily.
Note: With all Jura machines, simply opening up their powder chute is enough to let them know that you want to brew with pre-ground coffee.
Jura machines also tell you whether or not you have put enough ground coffee through the chute with a simple alert and message.
A specialty coffee must be brewed within 1 minute after the filling of the pre-ground coffee.
Once you touch the specialty selection, the machine will ask you to add ground coffee.
So, open up the powder chute cover and put one (for a single shot) or two (double shot) level measuring spoons of ground coffee into the filler funnel.
Close the chute cover and proceed.
The brewed coffee will flow into your cup.
Damage Prevention
- Avoid keeping the main’s cable near hot surfaces.
- Only fill the water tank with cold, fresh, and non-carbonated water.
- Protect your Jura machine from adverse weather conditions and direct sunlight.
- Don’t use caramelized or artificially spiked coffee beans in your Jura espresso machine.
- Connect your Jura machine directly to a domestic power socket. Multi-socket adapters or extension cords can cause overheating.
- Don’t apply alkaline or alcohol-based cleaning agents. Only Jura-approved mild cleaning agents and soft fabrics are ideal for Jura machines.
- Don’t forget to switch off (with the On/Off button) and remove the mains plug from the power socket if you’re going to be absent for a prolonged period of time.
FAQs
Is Jura a good espresso maker?
With many innovative features of their own, such as automation, higher brew quality, and a milk system, Jura is not only good but also a dedicated coffee connoisseur brand.
Does Jura make good-quality coffee?
Jura is one of the best home espresso brands that can guarantee great-quality coffee for a long time.
Can I use almond milk in my Jura machine?
Yes, you can. All Jura espresso machines are suitable for all types of milk.
Which one is better Miele or Jura?
Definitely, Jura machines, as they’re more cost-effective than Miele’s and offer far more competitive features and designs.
What’s the Jura Cold Extraction Process?
It’s a unique extraction process that slowly pulses cold water through freshly ground coffee using high pressure. As a result, it creates a uniquely fresh and fruity-flavored coffee without bitterness.
Conclusion
Jura coffee machines are a great long-term investment – for both office and home settings. Not only do they provide a comprehensive list of drink recipes, but they also offer a number of features that help to streamline your brewing process. And if you’re thinking about the coffee and milk system, don’t; they have you covered on that too!
But one thing is certain for all Jura machines: you must maintain them as the manufacturers intended. Jura machines can automatically rinse the coffee and milk systems by themselves, but they still need human assistance for cleaning and descaling cycles. Check out our guide to that as well, right here!
We hope that this guide has helped you understand how to use Jura coffee machines properly. For additional questions, don’t hesitate to get in touch with us.